
Base & Cap ‘Grate Adaptor’
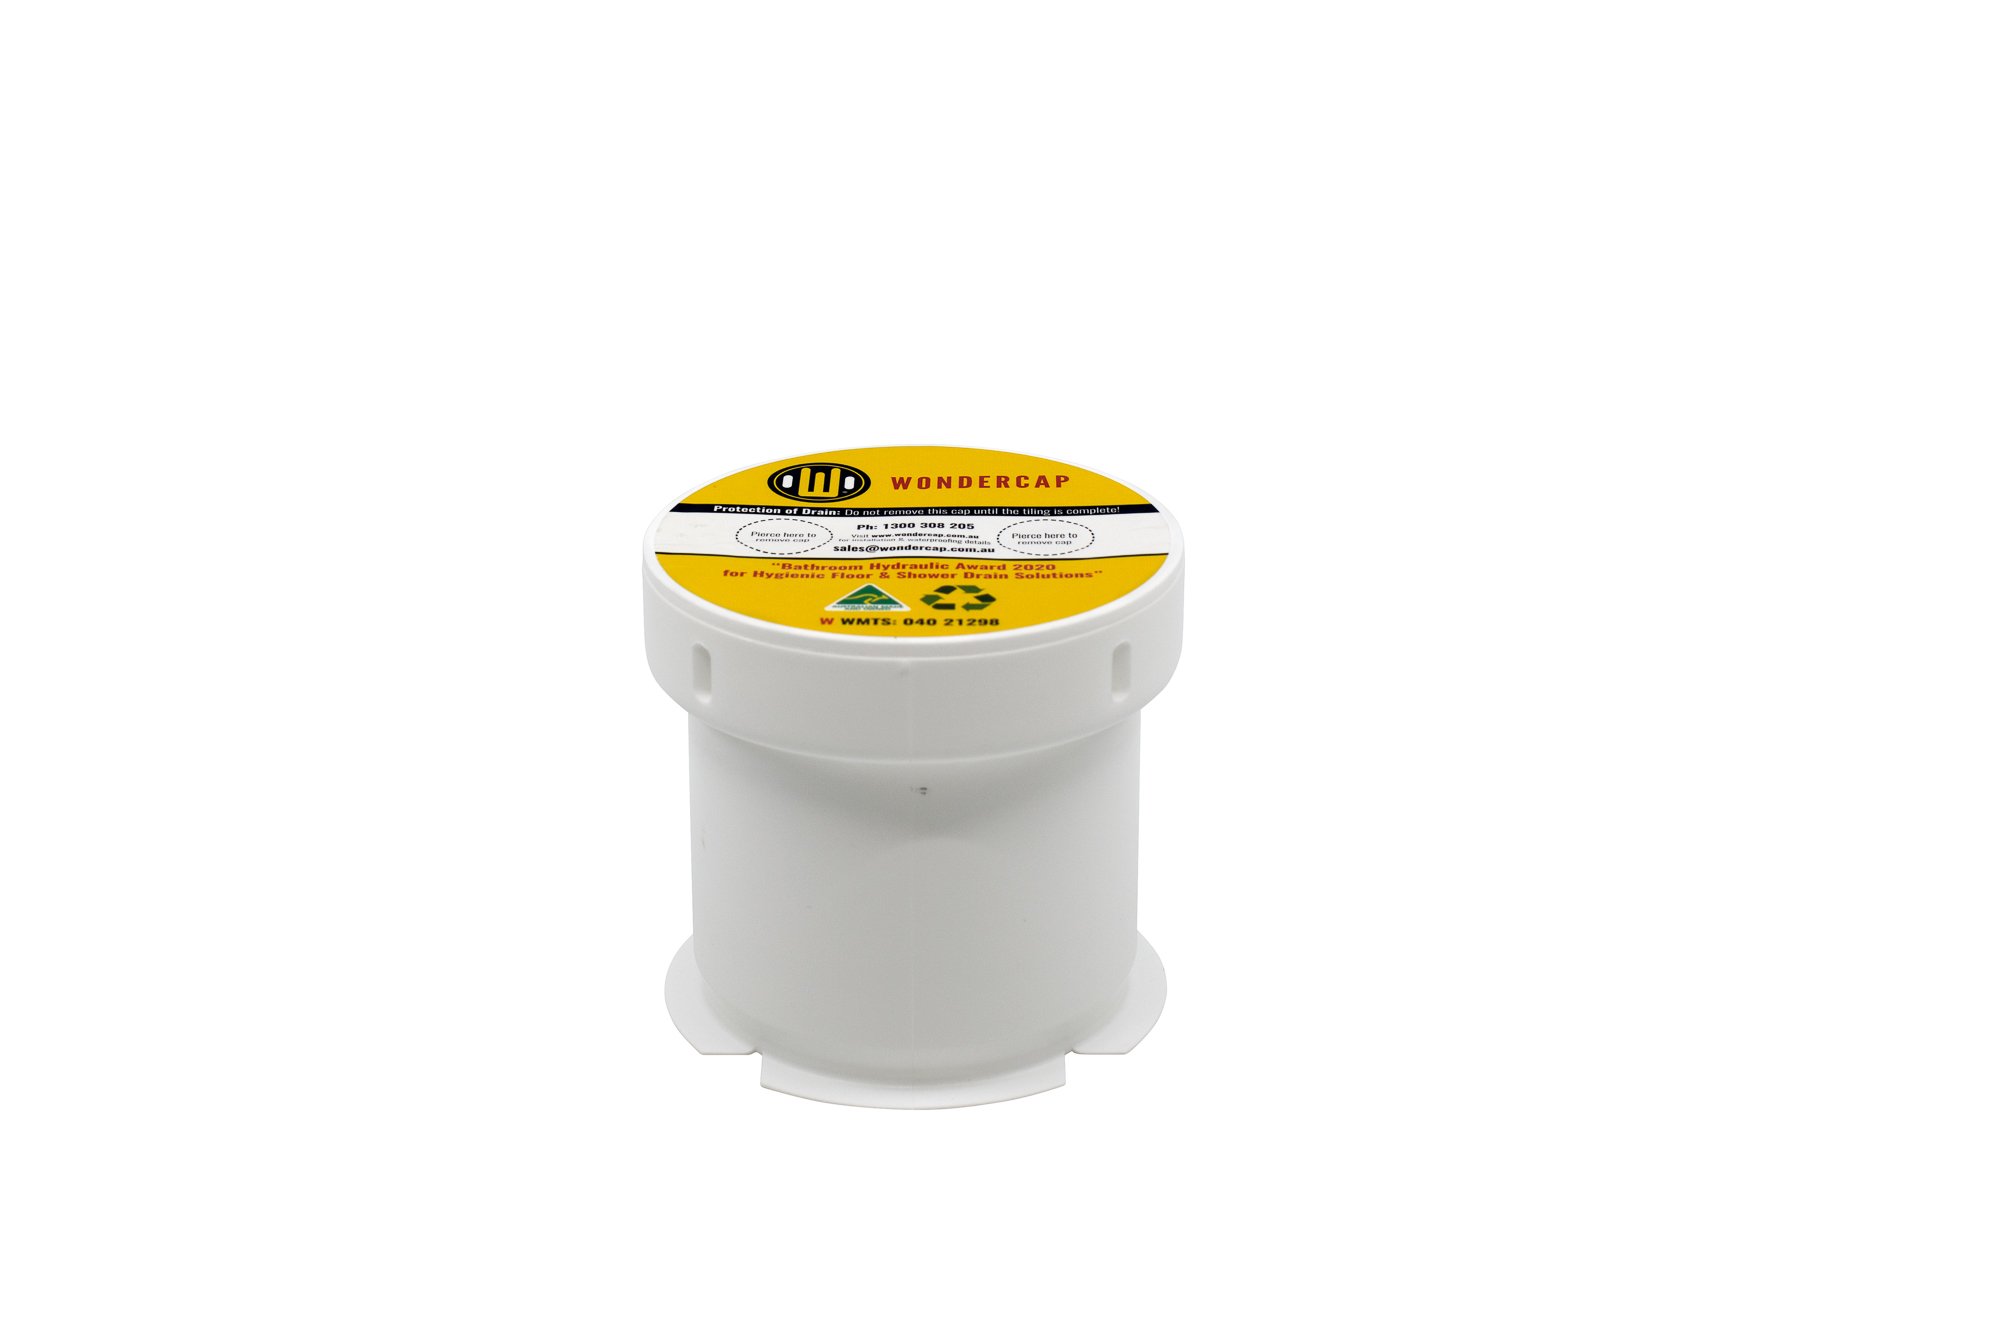
The Wondercap Base & Cap is a simple tool that stops the wet tile bedding from entering the drain during tiling.
The Base & Cap transition the tile bedding to the drain, thus supporting the floor drain grate, protecting the waterproofing, and appealing to the building industry’s love of better finishes and long-term results.
Go green, go hygiene, and go anti-bacterial with the Wondercap Base & Cap.
-
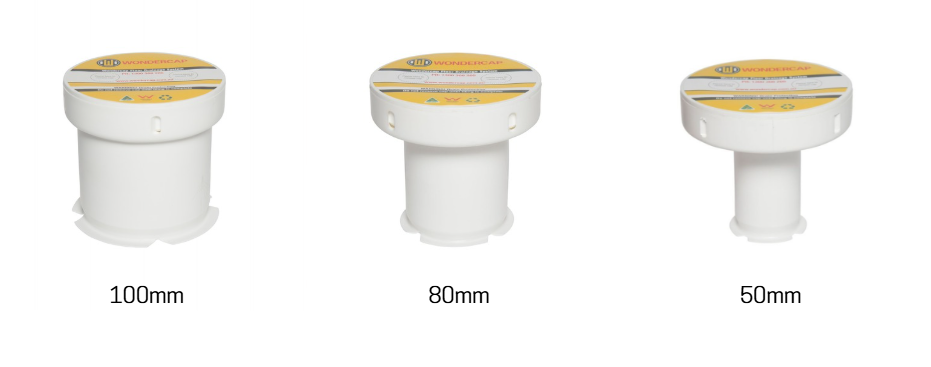
Base & Cap: 100mm
Code: WC100Base & Cap: 80mm
Code:WC80Base & Cap:: 50mm
Code: WC50 -
The base & cap “grate adaptor” forms part of our Wondercap kits.
The base & cap will slide up and down to the required tile bedding height.
The base & cap “grate adaptor“ will fit 100mm diameter Australian Design Floor & Shower grates.
-
Note: There are 2 ways to use the base and cap when bedding and tiling
Base & Cap - Tiling & Bedding Method Type 1
If you are using the round grate, you will notice that the grate may dropdown below the finished tiles.
To support the round grate into correct position to match the finish tiles -take the now redundant white cap and turn it upside down - measure the gap in between the tile and the grate - for example the gap is 10mm. Make a line of 10mm around the insert and cut accordingly with a hacksaw/angle grinder. Remove the burrs and insert the spacer ring into the top of the base.
Base & Cap - Tiling & Bedding Method Type 2
The base and cap is to be installed as required and the bedding is screeded up to the base and cap. The average thickness of a floor tile is 10mm - so leave the bedding 10mm lower than the base & cap and this will deliver a special process for fitting the grate.
Pro Tip: Use the floor tile as a guide to obtain the correct height.
Step 1:
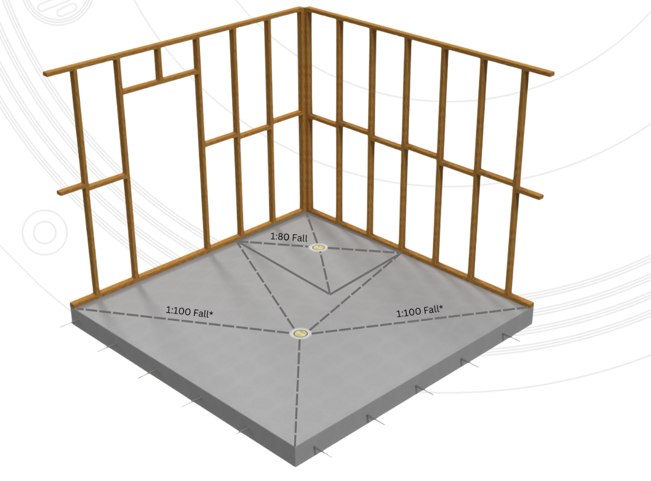
Before starting, place the appropriate sized base and cap into the floor and shower drains. Work out the required bedding heights for falls/grates and what will best suit the type of grate you are using.
The flush fitting floor base & cap will have to be raised to match the grate &bedding requirements - after the height has been calculated, raise the base& compact the bottom of the base with moist bedding mix to hold the base firm whilst levelling up.
If the base & cap is pushed all the way down into the RETRO puddle flange, the top of the base & cap will sit 25mm above concrete height, perfect for the minimum 25mm bedding height.
Step 2:
Set out all of the tiles for the shower from the wall to the grate, measure and pre-cut the tiles as required and fit them into place. Start laying your tiles as required towards the grate. Then glue and grout the tiles as close as possible to the drain/ cap.
Step 3:
Installation of the Floor / Shower Grates Depending on What Method Type (1 or 2)
Remove the push on cap and set up the grate for tiling - cut tiles as required. Insert the round or square grate and glue and grout as required to suit Method 1.
Insert the pre-cut spacer ring, insert the round or square grate, and glue and grout as required to suit Method 2.
Square Grates are easy to set up because the outer edges sit over the bedding and can be supported by tile glue & grout in the required position.
Always remember to wipe clean the insert base of any excess residue prior to handover.
-
The high-quality recycled polypropylene base is infused with bacterial protection during the injection moulding process, offering enhanced protection against the growth of mould and mildew in the drain outlet.
Its non-stick, non-straining material ensures a clean and hygienic finish.
The base design also allows for easy stacking, enabling the creation of a double base to achieve extra height if needed.
The NCC Waterproofing requirements are challenging. Wondercap can help you through these challenges to comply with the NCC requirements for the Australian Standards Waterproofing of Domestic Wet Areas. Wondercap can provide the products, procedures and installation processes to your construction team to meet these NCC regulations.