
Double Puddle Flange Range
Retro-Fit Kit / Retro-Fit Puddle Flange with Test Plug
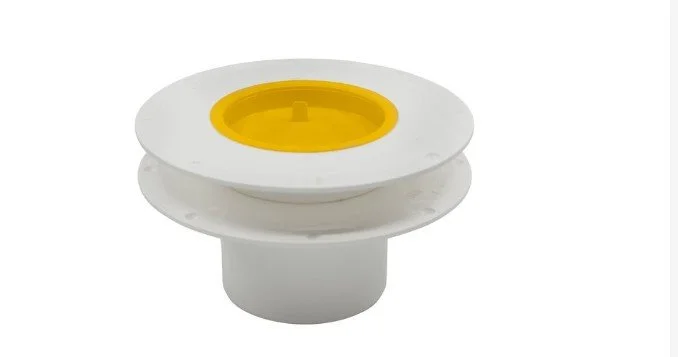
Adjusted cut down product.
Selecting the correct Double Puddle Flange combination is critical
Please note: Incorrect product selection may result in costly returns and installation delays — so please choose carefully and download the Selection Guide before ordering.
Step 1
Product Selection Guide
All 21 Double Puddle Flange variations with diagrams. Read this first to identify the correct product combination for your installation.
Step 2
Ordering Form
Must accompany every purchase order. Complete this form carefully to confirm you have selected the right product combination.
-
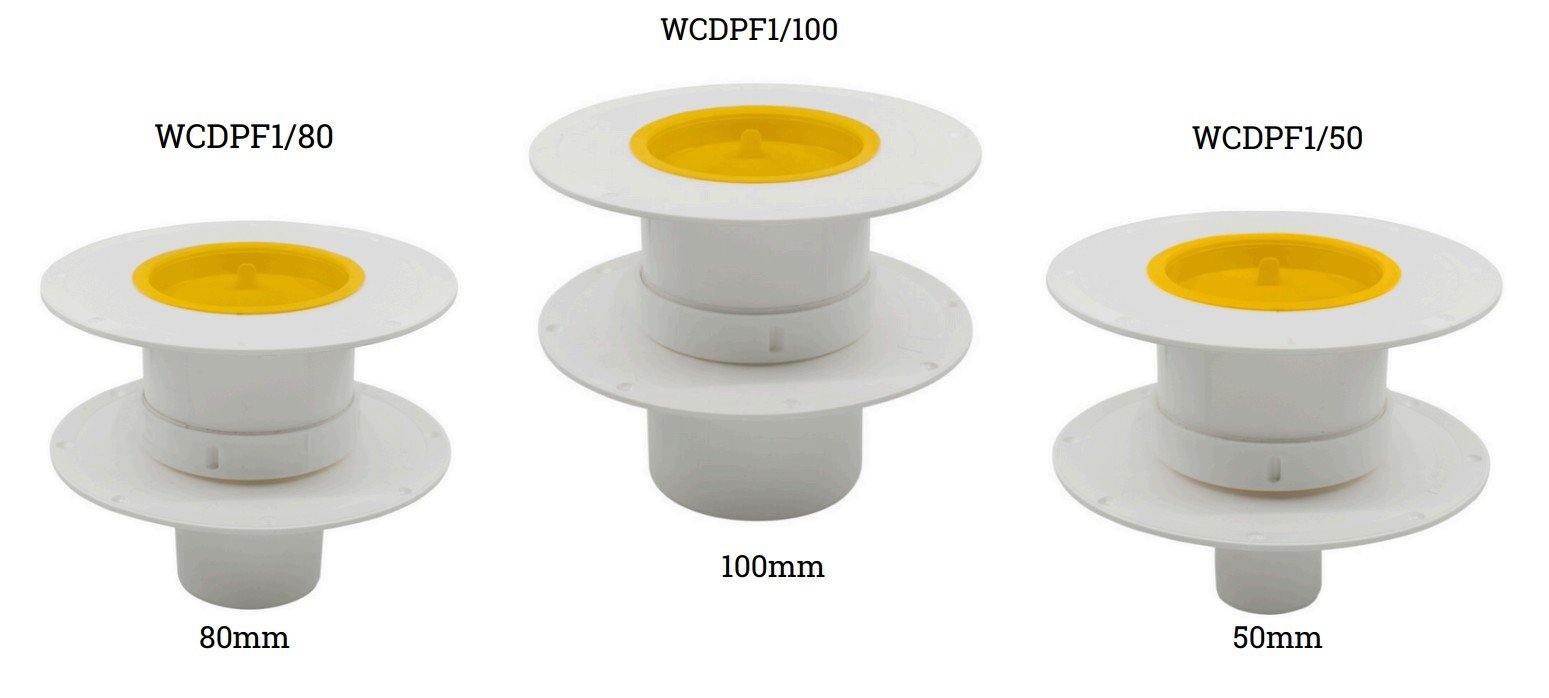
Product Code: WCDPF1/100
Product Description:
Lower Flange A: 100mm RetroFit Puddle Flange, with Base & Cap & Test Plug.
Upper Flange B: 100mm RetroFit Puddle Flange with Test Plug only.
Product Code:
WCDPF1/80 for 80mm pipe riser.
Product Code:
WCDPF1/50 for pipe riser.
Repeat the same installation set up.
-
Installed after the concrete / fibro cement flooring / timber floor has been installed.
Standard tiling bedding for wet areas.
Renovations and remodelling bathrooms.
-
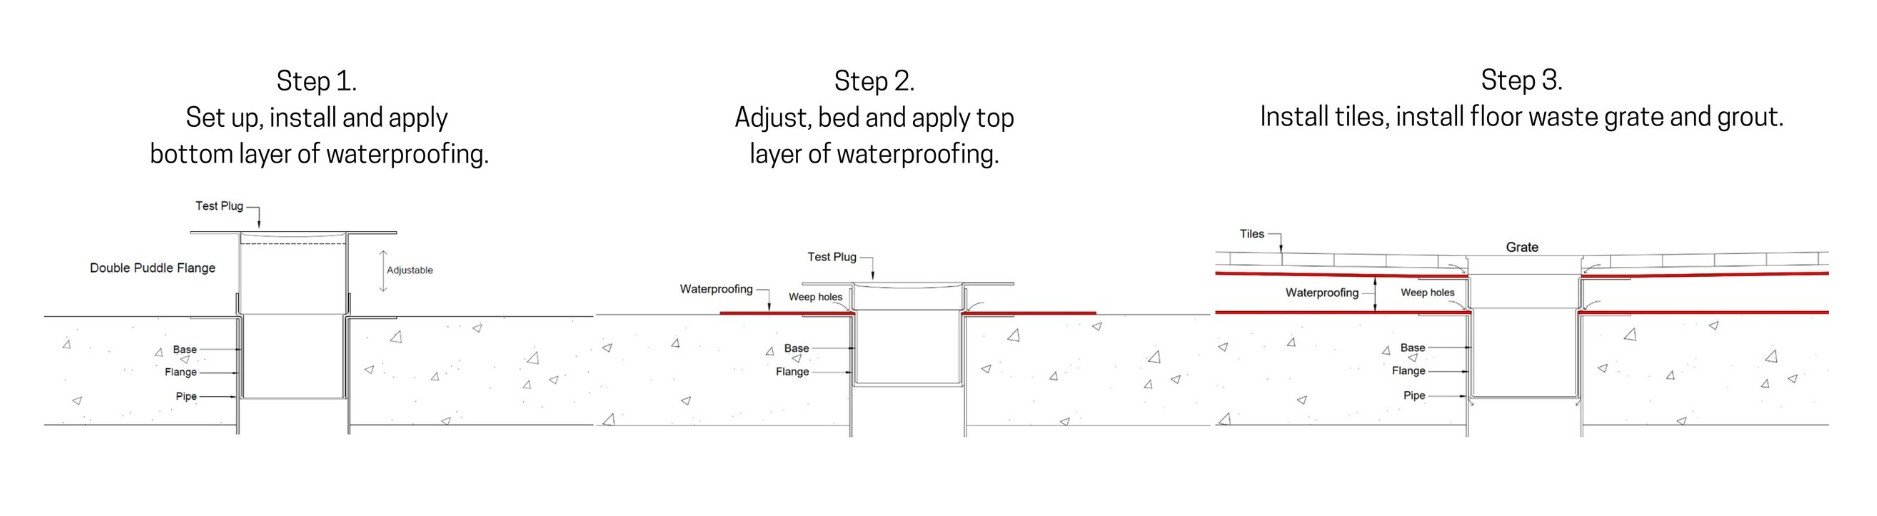
Step 1: Rebate and install the 100mm diameter RetroFit lower puddle flange A kit into the existing substrate floor.
Step 2: Apply the bottom layer of waterproofing membrane to the substrate and onto the lower puddle flange A.
Step 3: Remove the cap from the lower puddle flange A base ready for upper puddle flange B.
Step 4: Measure and cut to length the Retro upper puddle flange B dropper to suit the required bedding thickness between the two puddle flanges.
Clean, deburr and file the cut edge of the upper flange B.
Step 5: Insert the Type B puddle flange into the lower base of the Type A puddle flange, level up square.
Apply the graded bedding in between the two puddle flanges A B-
Press and compact the bedding mix firmly in and around to fully support the upper puddle flange B.
Step 6: Apply the top waterproofing membrane layer over the bedding and onto the puddle flange B.
-
Item description
-
Your Double Puddle Flange order will be delivered in two separate cartons, each clearly identified with a coloured sticker.
A — Red sticker — Install first Lower Puddle Flange A. Installed into the substrate before waterproofing membrane is applied.
B — Yellow sticker — Install second Upper Puddle Flange B. Installed after first layer of waterproofing has fully dried and been tested.
Please keep both cartons together and clearly labelled on site. Do not discard either carton until both flanges have been successfully installed. Wondercap cannot accept responsibility for lost or misplaced components once delivered.
-
Item description
-
The double puddle flange is certified and approved to meet NCC requirements.
The high-quality ABS puddle flange features 8 fixing points, ensuring a secure attachment to any substrate flooring.
Full installation guidelines, including detailed drawings, are available by clicking the installation link below.
The triple weep holes effectively drain and remove any moisture build-up around the double flange connection.
Available sizes: 100mm, 80mm, and 50mm PVC pipework.
Refer to the installation link to select the appropriate pipe size and installation finish for your project.
The flange is also available with a lightweight push-in test plug, which prevents construction debris from entering the open drain.
The test plug simplifies water testing of the waterproofing system.
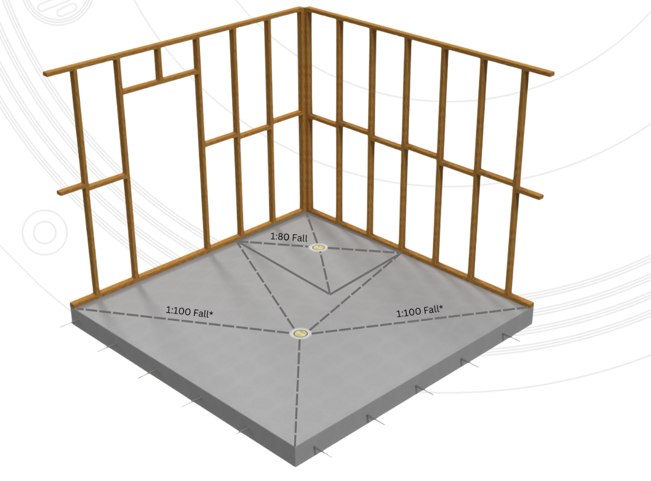
The NCC Waterproofing requirements are challenging. Wondercap can help you through these challenges to comply with the NCC requirements for the Australian Standards Waterproofing of Domestic Wet Areas. Wondercap can provide the products, procedures and installation processes to your construction team to meet these NCC regulations.